
When you notice white exhaust smoke billowing from the rear of your vehicle or discover a mysterious milky residue on your dipstick, you might be facing one of the more challenging yet ultimately manageable tasks in car maintenance: replacing a head gasket. This repair has earned a reputation for being costly and complex, yet with the right preparation, tools, and a methodical approach, it is entirely possible to undertake this job yourself. By doing so, you can save hundreds of pounds and gain valuable insight into the inner workings of your engine. This comprehensive guide will walk you through each stage of the process, from diagnosing the problem to reassembling your engine with confidence.
Understanding the Head Gasket and Recognising When Replacement is Necessary
What Does a Head Gasket Do and Why Does It Fail?
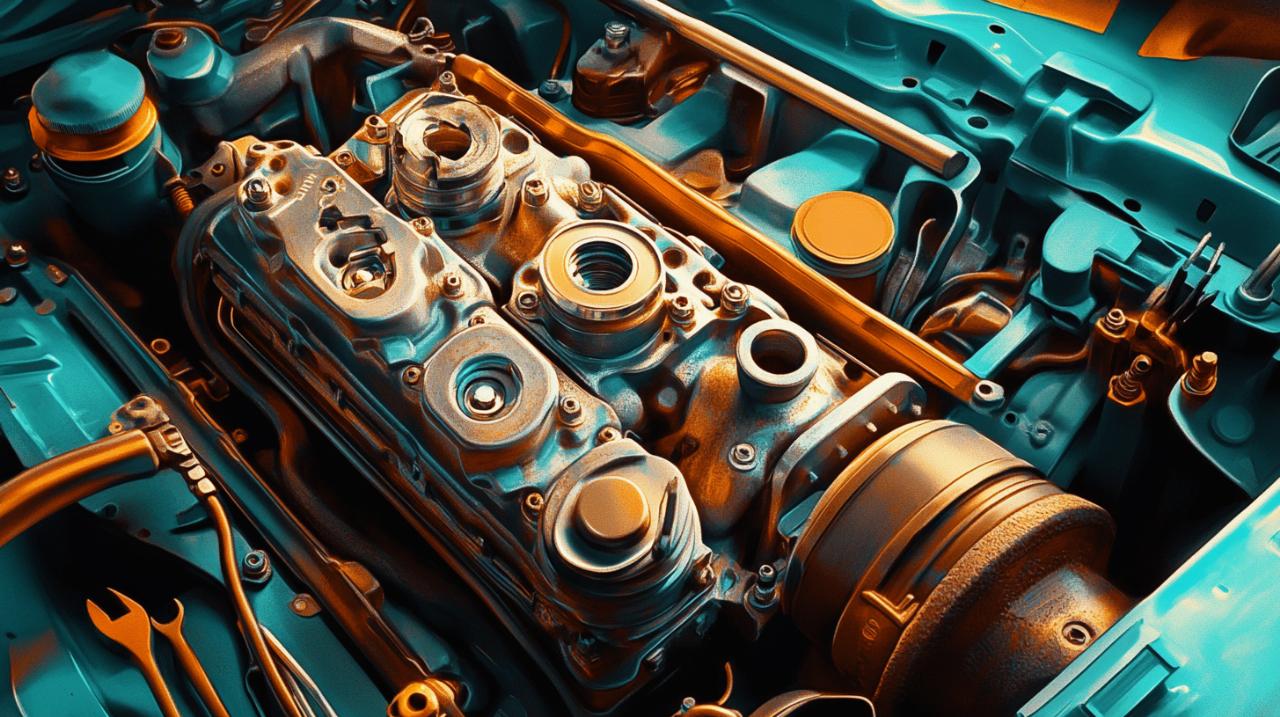
The head gasket is a critical component in any internal combustion engine, positioned between the cylinder head and the engine block. Its primary role is to seal the combustion chamber, ensuring that oil, coolant, and combustion gases remain in their designated passages without mixing or escaping. Modern engines typically use multi-layer steel gaskets, known as MLS gaskets, which are designed to withstand high temperatures and pressures whilst maintaining a robust seal over many thousands of miles. Despite their durability, head gaskets are subject to extreme stress. Over time, the relentless expansion and contraction caused by heat cycles, combined with the immense pressures generated during combustion, can lead to gasket failure. When a head gasket fails, the engine's delicate balance is disrupted, leading to a cascade of problems that, if left unchecked, can result in serious and irreparable engine damage.
Common warning signs that your engine's head gasket has blown
Recognising the symptoms of a blown head gasket early is crucial to preventing further harm to your engine. One of the most common indicators is engine overheating, which occurs when the gasket can no longer maintain a proper seal, allowing coolant to leak into the combustion chamber or oil galleries. You may also notice a persistent drop in coolant level without any obvious external leaks, or observe bubbles rising in the radiator reservoir when the engine is running. White exhaust smoke is another telltale sign, caused by coolant being burnt in the combustion process. Inside the engine, a leaking gasket can lead to a milky or frothy appearance in the engine oil, a result of coolant mixing with the lubricant. This contamination severely compromises the oil's ability to protect moving parts, leading to poor lubrication and potentially catastrophic engine damage. Additionally, a loss of power and compression, along with visible external leaks around the cylinder head, are strong indicators that replacement is necessary. Addressing these symptoms promptly by undertaking a head gasket replacement can prevent more extensive and expensive repairs down the line.
Essential tools, parts, and preparation before beginning your head gasket replacement
Gathering the Correct Gasket Kit and Specialist Equipment for Your Engine
Before you begin dismantling your engine, it is vital to gather all the necessary tools and parts. The centrepiece of this operation is, of course, the replacement head gasket itself. Ensure you purchase a gasket kit specifically designed for your engine's make and model, as dimensions and bolt patterns vary significantly between different engines. Opt for a high-quality multi-layer steel gasket if your engine originally used one, as these offer superior durability and sealing performance. In addition to the gasket, you will need a comprehensive set of hand tools, including socket sets, spanners, and torque wrenches. A torque wrench is particularly crucial because achieving the correct torque settings when reassembling the cylinder head is essential to prevent leaks and ensure even pressure distribution across the gasket surface. You will also require a scraper or gasket removal tool to clean old gasket material from the engine block and cylinder head, along with a suitable cleaning solvent to ensure all surfaces are free from oil, coolant, and debris. Other useful items include a dial gauge or straight edge to check for any warping of the cylinder head surface, new cylinder head bolts, as many are designed for single use only, and a selection of gaskets and seals for ancillary components such as the intake and exhaust manifolds, thermostat housing, and valve cover.
Preparing your workspace and taking proper safety precautions
A well-organised workspace is fundamental to a successful head gasket replacement. Choose a clean, well-lit area with ample room to lay out parts and tools methodically. As you dismantle the engine, label each component and take photographs at every stage; this will prove invaluable during reassembly when trying to recall the exact routing of hoses or the orientation of brackets. Safety must be a priority throughout the process. Always disconnect the battery before starting work to prevent accidental short circuits or inadvertent starter motor engagement. Allow the engine to cool completely before beginning, as working on a hot engine can result in serious burns. Wear protective gloves and safety glasses to shield yourself from sharp edges, chemicals, and debris. Ensure adequate ventilation if working in an enclosed space, particularly when using cleaning solvents. Finally, consult your vehicle's service manual to familiarise yourself with the specific procedures, torque settings, and any peculiarities related to your engine. This preparation will save time, reduce frustration, and help you avoid costly mistakes.
The Complete Step-by-Step Process for Removing and Replacing Your Head Gasket
Stripping Down the Engine: Removing Components to Access the Cylinder Head
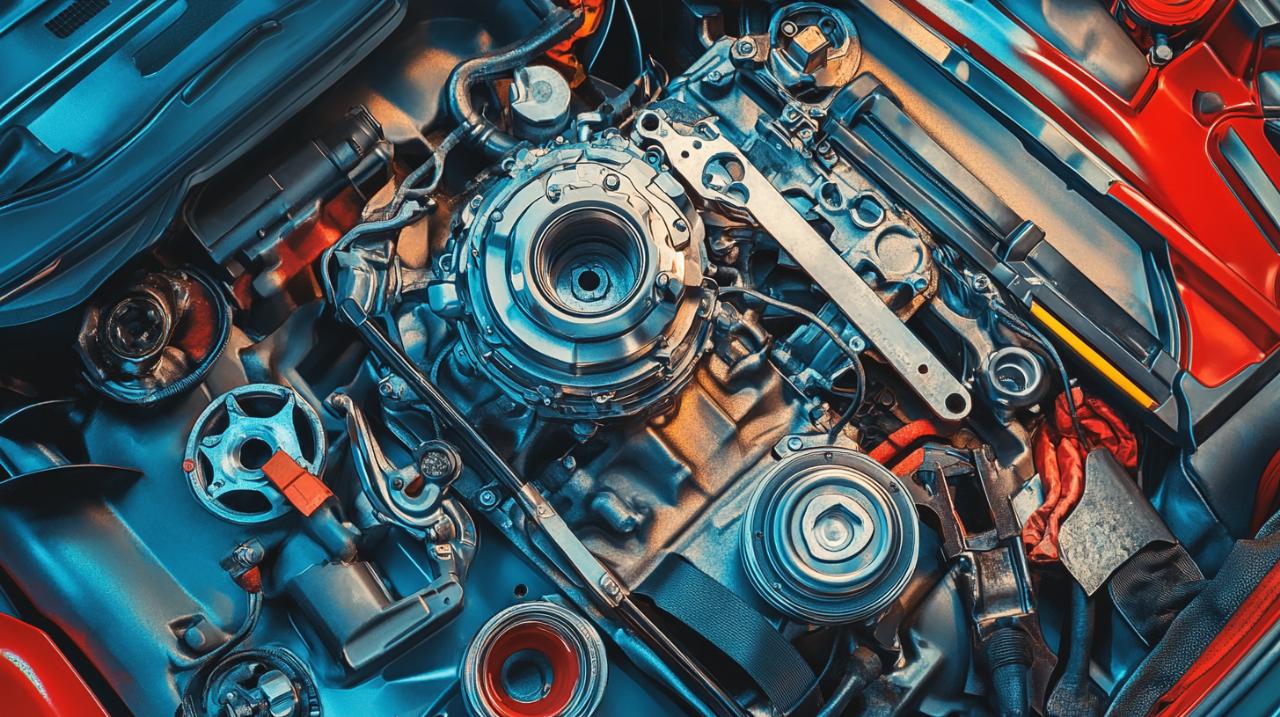
Once your workspace is prepared and your tools are at hand, the first task is to systematically remove all components obstructing access to the cylinder head. Begin by draining the coolant from the radiator and engine block into a suitable container for safe disposal or reuse. Next, remove the air intake system, including the air filter housing and intake ducting, to provide better access. Disconnect all electrical connectors, vacuum lines, and fuel lines attached to the cylinder head and its associated components, taking care to label each connection. Remove the exhaust manifold, which may require penetrating oil and patience if the bolts are corroded. The intake manifold must also be detached, along with the throttle body and any sensors mounted on it. If your engine has a distributor or coil packs mounted on the valve cover, these must be removed as well. Once these ancillary components are clear, unbolt and lift off the valve cover to expose the camshaft and valve train. Depending on your engine's design, you may need to remove the camshaft, rocker arms, or lifters to free the cylinder head. With the valve train components safely stored, remove the timing belt or chain, ensuring you mark the timing position carefully to avoid misalignment during reassembly. Finally, progressively loosen the cylinder head bolts in the reverse order of the tightening sequence specified in your service manual, then carefully lift the cylinder head away from the engine block, taking care not to damage the mating surfaces.
Fitting the New Gasket and Reassembling the Engine Properly
With the cylinder head removed, thoroughly inspect both the head and the engine block for signs of damage, warping, or corrosion. Use a straight edge and feeler gauge to check for any unevenness; if the surfaces are warped beyond acceptable tolerances, professional machining may be required. Clean both surfaces meticulously using a scraper and solvent, ensuring that no remnants of the old gasket, oil, or coolant remain. Position the new head gasket carefully on the engine block, aligning it with the dowel pins or alignment features. It is crucial that the gasket is oriented correctly, as installing it upside down or backwards will result in leaks and engine damage. Place the cylinder head back onto the block, taking care not to dislodge the gasket. Install new cylinder head bolts, as reusing old bolts can lead to uneven clamping force and gasket failure. Begin tightening the bolts by hand, then follow the manufacturer's specified torque sequence and settings. Typically, this involves tightening in several stages, starting from the centre and working outwards in a criss-cross pattern, to ensure even pressure distribution. Adhere strictly to the torque settings provided in your service manual, as incorrect torque can cause leaks, bolt breakage, or gasket failure. Once the cylinder head is secure, reassemble the timing components, ensuring that all timing marks align precisely. Reinstall the valve train, camshaft, and valve cover, using new gaskets where necessary. Reconnect the intake and exhaust manifolds, along with all hoses, electrical connectors, and ancillary components, referring to your photographs and labels. Refill the cooling system with fresh coolant, reconnect the battery, and check all fluid levels. Start the engine and allow it to warm up, monitoring closely for any signs of leaks or abnormal behaviour. With patience and attention to detail, your engine will be running smoothly once more, and you will have saved a considerable sum by completing this repair yourself.